How to Make Vending Machine Labels
The Vital Role of Vending Machine Labels
Vending machines are ubiquitous, offering snacks, beverages, and even electronics at the push of a button. But beyond their convenience, each machine features a crucial component often overlooked: the vending machine labels.
These labels not only guide consumers in making their selections but also ensure compliance with regulatory standards, providing essential information like pricing, nutritional facts, and product ingredients. The importance of these labels extends beyond mere functionality; they are integral to the machine’s operation and user interaction.
What This Guide Covers
In this blog post, we’ll delve into the step-by-step process of creating effective vending machine labels. Whether you’re a business owner looking to enhance the user experience, a manufacturer aiming to meet industry standards, or simply interested in the label-making process, this guide will provide you with valuable insights.
From selecting the right materials to understanding the legal requirements, we’ll cover all you need to know to design and produce vending machine labels that are both informative and compliant.
Key Takeaways
-
Choosing the Right Materials: Use durable, water-resistant materials like vinyl or polyester for longer-lasting labels.
-
Effective Design: Prioritize clear fonts, high contrast, and organized information to ensure readability.
-
Proper Application: Prepare the surface thoroughly and apply the labels carefully to avoid bubbles or misalignment.
-
Regular Maintenance: Clean, inspect, and replace labels as needed to maintain compliance and functionality.
Understanding Requirements For Make Vending Machine Labels
Exploring Types of Vending Machine Labels
Vending machine labels come in various forms, each serving a distinct purpose. Understanding these types can help ensure that your machines meet both user needs and regulatory demands:
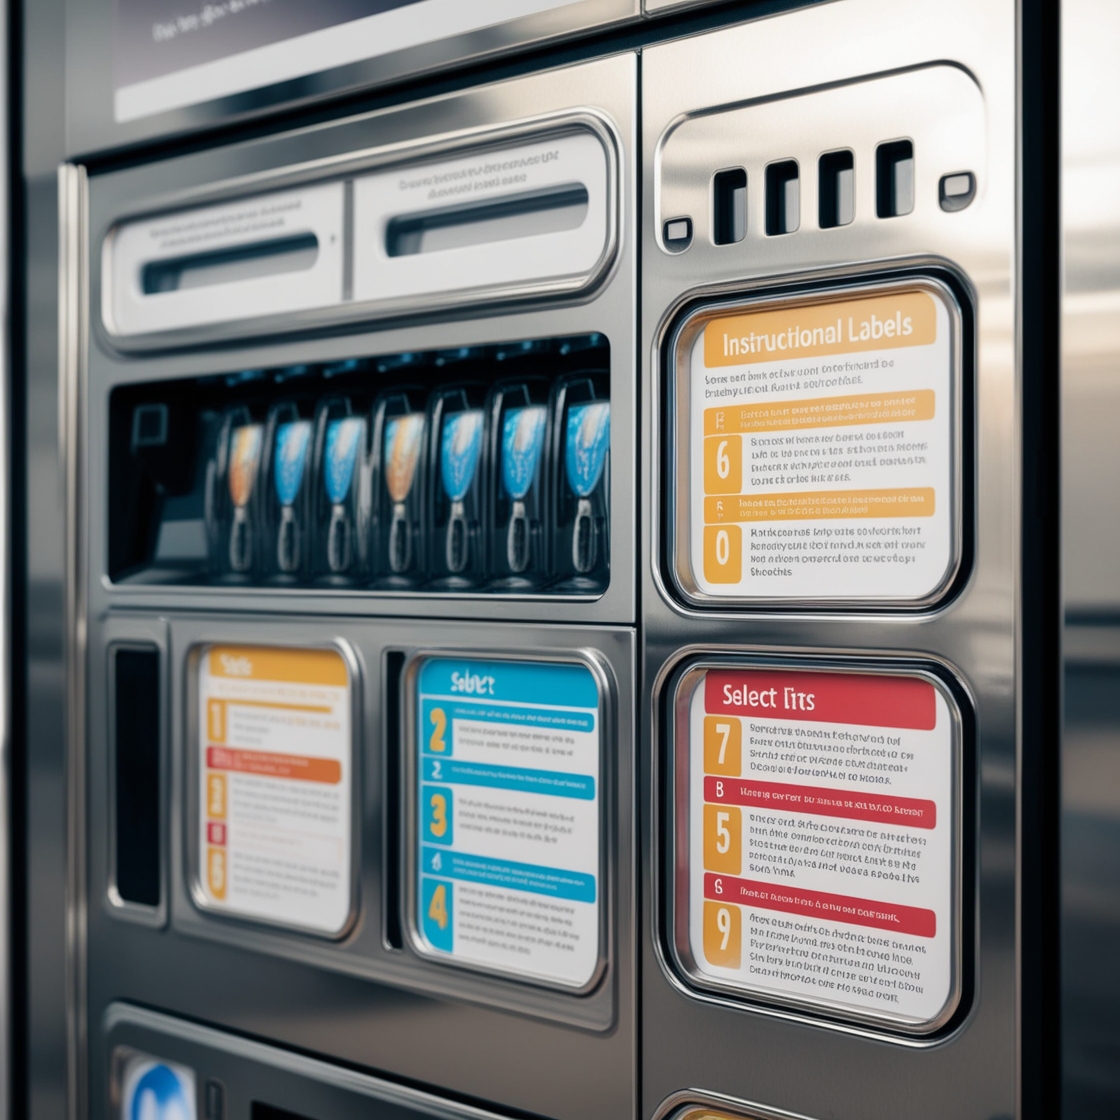
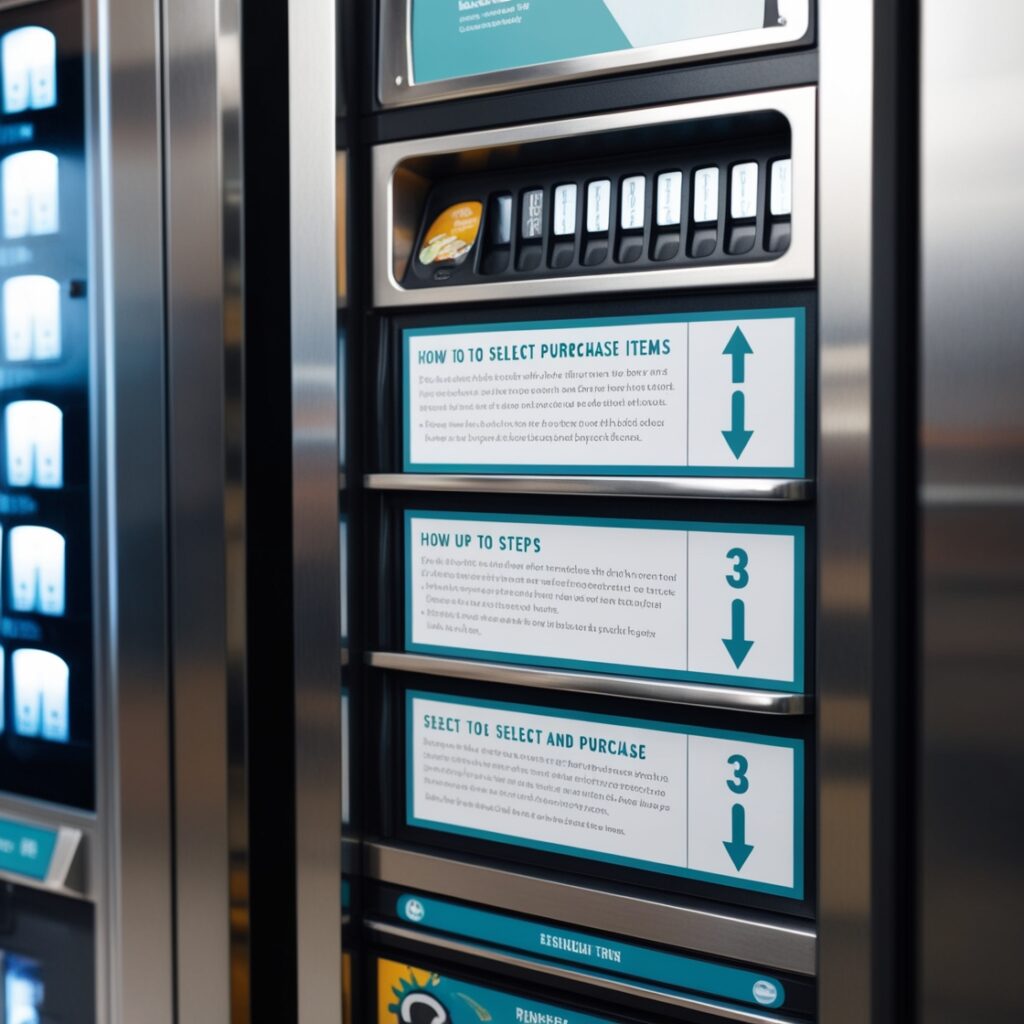
- Instructional Labels: These provide clear instructions on how to operate the vending machine. They include steps for selecting and purchasing items, and may also feature troubleshooting tips for common issues.
- Nutritional Information Labels: For food and beverage vending machines, these labels are crucial. They detail the nutritional content of the products, such as calorie count, sugar content, and allergen information, helping consumers make informed choices.
- Payment Instruction Labels: These labels explain the payment methods accepted by the machine, such as cash, credit cards, or digital payments, and may include instructions for each method to assist first-time users.
Regulatory and Standard Requirements
When designing vending machine labels, compliance with various standards and regulations is paramount:
- Americans with Disabilities Act (ADA): Labels must be accessible to everyone, including those with disabilities. This may influence the label’s design, such as its height placement, font size, and color contrast.
- Health and Safety Standards: Depending on the location and type of vending machine, specific health and safety regulations must be followed. For example, labels on machines dispensing food or beverages must comply with food safety labeling standards, which include the display of expiration dates and ingredient lists.
- Local and International Standards: Vending machines operating in certain jurisdictions may need to meet additional local standards, such as multilingual labels or specific payment disclosures. International standards can also apply if machines are used in multi-country operations.
Materials Needed For Make Vending Machine Labels
Creating vending machine labels that are durable, legible, and compliant with regulatory standards requires the right materials. Here’s what you need to ensure long-lasting and effective labels:
Essential Materials for Vending Machine Labels
- Label Base Material:
- Vinyl: Ideal for high-durability labels. It is waterproof, tear-resistant, and retains color well.
- Polyester (PET): Known for its robustness, this material is heat-resistant, making it suitable for vending machines placed in areas with varying temperatures.
- Polypropylene (BOPP): This material offers excellent water resistance and flexibility, making it ideal for labels exposed to moisture.
- Laminated Paper: A cost-effective option that works well indoors. When laminated, it offers better resistance to wear and tear.
- Adhesives:
- Permanent Adhesive: Best for labels that need to stay in place for long periods. It works well on most surfaces, including metal, plastic, and glass.
- Removable Adhesive: Allows the label to be easily replaced without leaving residue. It’s suitable for labels that may need frequent updates, such as pricing or promotional labels.
- Waterproof and Weather-Resistant Coating:
- UV Lamination: Protects labels from fading due to sunlight exposure, maintaining visibility and clarity over time.
- Gloss or Matte Laminate: Provides a protective layer against moisture, dust, and frequent contact, ensuring that the labels remain readable.
- Fade-Resistant Inks:
- UV Inks: These inks are designed to withstand prolonged exposure to sunlight, reducing fading and ensuring that labels maintain their readability.
- Eco-Solvent Inks: Known for their durability, they offer vibrant colors and resistance to both fading and moisture.
Where to Source Label Materials
Finding reliable sources for label-making materials is crucial for quality and durability:
- Online Suppliers:
- Uline: Offers a wide range of adhesive label materials, laminates, and UV-resistant options.
- Avery: Provides materials like vinyl, polyester, and polypropylene sheets that can be customized for vending machine labels.
- Amazon Business: A convenient platform for buying bulk materials, including fade-resistant inks, laminating sheets, and adhesive rolls.
- Labelcity: Specializes in label printing materials, including thermal labels and accessories tailored to vending machine needs.
- Local Print Shops:
- Visiting local print shops can be beneficial if you need guidance on selecting the right materials or prefer smaller quantities to start with. They often offer samples and advice on material types and best practices.
- Office Supply Stores:
- Stores like Office Depot, Staples, or other office supply outlets can be good sources for materials like adhesive sheets, laminating films, and ink refills.
Designing Your Labels For Vending Machine
Creating well-designed vending machine labels requires a thoughtful approach to ensure they are clear, compliant, and easy to read. Here’s simple 3 steps to help you design effective labels:
Step 1: Choose the Right Design Tool
- Adobe Illustrator:
- Best for: Professional designers seeking precise control over elements and scalability.
- Features: Vector-based design, advanced typography, and extensive customization options.
- Why use it: It allows for precise design adjustments, ensuring high-quality, print-ready labels.
- Canva:
- Best for: Beginners or small business owners looking for an easy, user-friendly interface.
- Features: Drag-and-drop design, pre-made templates, and extensive font and graphic options.
- Why use it: Canva offers a simple way to create attractive, professional labels quickly, even without design experience.
- Microsoft Publisher:
- Best for: Basic label designs with limited customization.
- Features: Pre-set label templates and simple design tools.
- Why use it: Ideal for simple labels when speed is a priority.
- Label-Specific Software:
- Best for: Labels that need to integrate with label printers directly.
- Features: Built-in templates for standard label sizes, barcode generators, and automated text adjustments.
- Why use it: It’s tailored specifically for label creation, reducing the risk of design errors.
Step 2: Design for Readability and Visibility
- Prioritize Clear Fonts:
- Use sans-serif fonts like Arial, Helvetica, or Roboto for better readability.
- Avoid overly decorative fonts; they can be hard to read, especially from a distance.
- Optimal Font Size:
- Use a minimum font size of 12pt for key information.
- Important details like product names or allergens should be bolded and larger to catch attention.
- High-Contrast Colors:
- Choose colors that create strong contrasts, such as black text on a white background or yellow text on a dark background. This improves readability under different lighting conditions.
- Use Icons and Graphics:
- Include icons for visual guidance (e.g., payment methods, allergens, or nutritional information). Icons improve comprehension and reduce text clutter.
- Organize Information Hierarchically:
- Use a logical flow: Start with the product name, followed by key details like pricing, nutritional information, and payment instructions.
- Separate different types of information using lines, borders, or spacing. This helps users locate what they need quickly.
Step 3: Include Essential Information Without Cluttering
- Start with Must-Have Details:
- Include only the most important details such as product names, prices, nutritional facts, and payment instructions. This helps users get the necessary information without being overwhelmed.
- Keep it Short and Direct:
- Use short phrases and bullet points to convey information quickly. Avoid lengthy descriptions that can clutter the label.
- Leverage QR Codes or URLs:
- If additional information is needed, add a QR code or short URL to direct users to more details, such as a nutritional database or instructional video.
- Ensure Compliance:
- Cross-check your label design against relevant regulations (e.g., ADA or food safety standards) to ensure all required information is included.
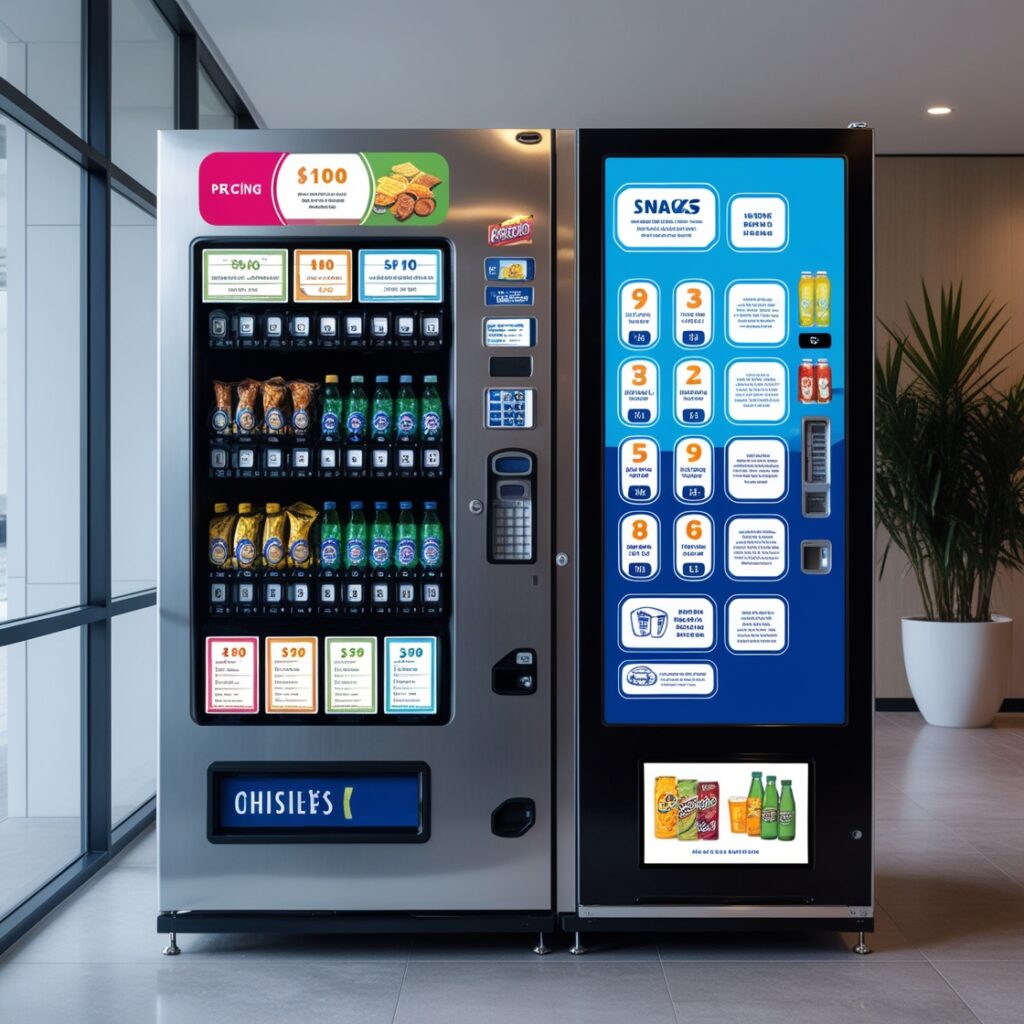
- Cross-check your label design against relevant regulations (e.g., ADA or food safety standards) to ensure all required information is included.
Printing Your Vending Machine Labels
Printing high-quality vending machine labels requires selecting the right equipment and ensuring settings are optimized for durability and clarity. Here’s how to achieve professional results:
Step 1: Choose the Right Printer
- Thermal Printer:
- Best for: Quick label printing with durable results.
- Pros: No need for ink, fast printing speed, and highly durable labels that withstand moisture and heat.
- Cons: Limited to black and white or basic color printing. Best suited for text-based or barcode labels.
- Recommended models: Zebra ZD420, Brother QL-1110NWB.
- Laser Printer:
- Best for: High-volume, cost-effective printing with vibrant color.
- Pros: Produces crisp, fade-resistant text and graphics, making it ideal for detailed labels with both text and images.
- Cons: Labels may require a coating for added moisture protection.
- Recommended models: HP Color LaserJet Pro, Brother HL-L8360CDW.
- Inkjet Printer:
- Best for: Vivid color printing with intricate designs.
- Pros: Produces rich, detailed colors, making it great for labels with complex graphics or photographic elements.
- Cons: Labels may fade faster than those from laser or thermal printers if exposed to moisture or sunlight.
- Recommended models: Epson EcoTank ET-2760, Canon PIXMA G7020.
- Commercial Label Printer:
- Best for: Businesses with large-scale label printing needs.
- Pros: Offers high speed, large capacity, and specialized label formats, with various material options like vinyl, polyester, or polypropylene.
- Cons: Higher upfront cost but more cost-efficient for bulk printing.
- Recommended models: Primera LX500, Rollo Label Printer.
Step 2: Optimize Printer Settings for High-Quality Output
- Adjust Print Quality:
- Set the printer to High-Quality or Best mode to achieve sharp text and images.
- Use the highest DPI (dots per inch) setting for the clearest results. A minimum of 300 DPI is recommended for clear text and graphics.
- Select Correct Paper Type:
- In the printer settings, choose the paper type that matches your label material (e.g., vinyl, polyester, or standard label paper).
- For thermal printers, ensure that the right label roll (thermal-compatible) is loaded correctly.
- Enable Color Matching (for color labels):
- Use the printer’s color management tools to ensure that colors print accurately. Many printers offer built-in color correction profiles to match the design colors as closely as possible.
Step 3: Test Print for Color Accuracy and Adhesion
- Perform a Test Print:
- Print a sample label to check for color accuracy, clarity, and alignment. Ensure that all text is legible and graphics appear as intended.
- Verify Color Accuracy:
- Compare the test print with your digital design to see if colors match.
- If the colors appear dull or misaligned, adjust the color saturation or contrast settings in your design software or printer setup.
- Check Adhesion Quality:
- Place the test label on a vending machine or similar surface and ensure it adheres properly.
- Test for durability by rubbing the label lightly to ensure the ink doesn’t smudge or peel.
- Ensure Durability:
- Expose the test label to conditions it will face (e.g., moisture, direct sunlight) to verify its resilience.
- If necessary, apply a lamination layer or use a protective coating for extra durability.
Applying the Labels to the Vending Machine
Properly applying labels to a vending machine ensures they remain in place, are easily readable, and present a professional appearance. Here’s a step-by-step guide on how to prepare the machine’s surface and apply the labels effectively.
Step 1: Prepare the Vending Machine Surface
- Clean the Surface Thoroughly:
- Use a mild detergent or an alcohol-based cleaner to remove any dirt, grease, or residue from the area where the label will be applied.
- Wipe the surface with a soft cloth or microfiber towel to prevent scratches.
- Let the surface dry completely to ensure strong adhesion.
- Inspect the Surface for Imperfections:
- Check for dents, rust, or rough areas. If found, gently sand any rough spots or remove rust using a rust remover.
- Make sure the area is flat and smooth before label application. Labels adhere best to a clean, even surface.
- Temperature Considerations:
- Ensure the machine’s surface is at room temperature. Labels may not adhere well if the surface is too cold or too hot.
- Ideal temperature for application is typically between 50°F to 90°F (10°C to 32°C).
Step 2: Apply the Labels Smoothly
-
- Peel the Backing Carefully:
- Start by peeling back only a small corner of the label backing to expose a bit of the adhesive.
- Align the exposed part of the label on the desired spot of the machine.
- Align the Label Precisely:
- Use a ruler or a straight edge to ensure that the label is perfectly aligned. Start applying it from one side to the other, slowly pressing it into place.
- If the label includes text or graphics that need to be perfectly positioned, use a painter’s tape guide or a light pencil mark to outline the position beforehand.
- Use a Squeegee or Credit Card:
- As you peel back the rest of the backing, use a squeegee or a credit card to smooth the label from the center outward. This will help eliminate air bubbles and creases.
- Work slowly, pressing firmly as you go to ensure the label adheres evenly.
- Eliminate Air Bubbles:
- If small air bubbles appear, use a needle or pin to prick a tiny hole in the bubble, then press out the air gently with your finger or a soft cloth.
- Secure the Edges:
- After applying the label, run your fingers or a soft cloth along the edges to make sure they are properly sealed and won’t peel over time.
- Final Inspection:
- Check the label’s alignment, adherence, and overall appearance. If necessary, make minor adjustments by gently peeling back the label and reapplying.
- Allow Time for Adhesion:
- Let the label sit undisturbed for at least 24 hours to ensure full adhesion. This will help it withstand usage, moisture, and cleaning.
- Peel the Backing Carefully:
Maintenance and Upkeep
Proper maintenance is essential to keep vending machine labels looking fresh, legible, and compliant over time. Here are tips on cleaning, updating, and replacing labels without damaging the machine’s surface.
Tips for Maintaining Labels
- Regular Cleaning:
- Clean the labels weekly to maintain readability and hygiene. Use a soft, damp cloth with a mild soap solution or an alcohol-based cleaner for best results.
- Avoid using abrasive cleaning tools or harsh chemicals, as they can damage the label’s surface or fade the print.
- Inspect Labels Frequently:
- Check for signs of wear and tear, such as fading, peeling edges, or smudged text.
- Pay special attention to labels near payment sections or frequently touched areas, as they are more prone to wear.
- Protect Labels from Moisture and Heat:
- If the vending machine is located outdoors or in a humid area, consider adding a laminate layer over the label for additional moisture resistance.
- Ensure the machine’s ventilation is working properly to prevent excess heat from damaging labels.
When to Replace Labels
- Replace Labels When They Show Significant Wear:
- If labels become illegible due to fading, peeling, or scratches, replace them immediately to maintain compliance and user guidance.
- Stay Updated with New Information:
- If the products in the vending machine change (e.g., new snacks, drinks, or updated nutritional facts), replace the labels to reflect the latest information.
- If pricing, payment options, or operational instructions change, update the corresponding labels promptly.
How to Update or Replace Labels Safely
- Carefully Remove Old Labels:
- Use a plastic scraper or a credit card to lift the edges of the label gently. Avoid using metal tools, as they can scratch the machine’s surface.
- If the label doesn’t come off easily, apply a small amount of adhesive remover or isopropyl alcohol to soften the adhesive.
- Clean Residual Adhesive:
- After removing the old label, use adhesive remover or rubbing alcohol to clean any residue left on the surface. Wipe the area with a soft cloth until it is completely clean.
- Apply the New Label:
- Once the surface is clean and dry, follow the steps outlined earlier to apply the new label smoothly and evenly.
- Consider Using Removable Adhesive:
- For labels that need frequent updates, use removable adhesive labels. These labels can be replaced easily without leaving residue, reducing the risk of damaging the machine’s surface over time.
- Use Laminated Labels:
- If the vending machine requires frequent label changes, consider using laminated labels with dry-erase or replaceable inserts for pricing or product information. This approach minimizes full label replacement.
Conclusion
Creating effective vending machine labels is not just about enhancing the machine’s appearance but also about improving user interaction, maintaining compliance, and ensuring the safety of consumers.
With the right materials, design approach, and maintenance practices, your labels can be both durable and informative. By following the steps outlined in this guide, you can ensure that your vending machine labels are high-quality, easy to understand, and long-lasting.
FAQs
1. What materials are best for vending machine labels?
Vinyl, polyester (PET), and polypropylene are ideal materials due to their water resistance, durability, and ability to retain color over time.
2. How often should vending machine labels be replaced?
Labels should be replaced whenever they show signs of wear, fading, or peeling, or if product information, pricing, or compliance regulations change.
3. Can I print vending machine labels at home?
Yes, with the right printer (e.g., laser or inkjet) and materials, you can print labels at home. However, for bulk or professional-grade labels, using commercial printing services is recommended.
4. How can I make sure my labels stay readable in harsh conditions?
Use UV-resistant inks, waterproof materials, and consider adding a laminate layer to protect against moisture, heat, and direct sunlight.
5. What should be included on a vending machine label?
Labels should include clear instructions, product details (e.g., name, ingredients, allergens), pricing, payment instructions, and any compliance-related information (e.g., ADA requirements).
Call to Action
Ready to upgrade your vending machine labels for better compliance and user experience? Start today by selecting the right materials and designs that suit your needs. If you need help designing or printing vending machine labels, reach out to our team of experts! We offer customized solutions that ensure your labels are durable, compliant, and user-friendly.
